
Scope: RKNN2 V2.5.0 platform reference covering RK3562, the RK3566/3568/3576/3588 series and RV1126B. An ArmSoM board with the same SoC still needs a matching BSP, NPU driver and Runtime; do not copy Rockchip EVB power, USB or firmware assumptions directly. Host and driver requirements are listed below. No ArmSoM hardware validation was performed.
Adapted from the local Chinese and English V2.5.0 sources, retaining section numbers. Chinese uses Chinese figures; English, Russian and German use English-source figures. PDF wraps, continued tables and code indentation are restored. Example outputs are not ArmSoM tests.
RKNN2 V2.5.0 quickstart 1: deployment flow, platforms and SDK repositories
RKNN2 V2.5.0 quickstart 2: hardware connection and ADB checks
RKNN2 V2.5.0 quickstart 3: Toolkit, Android/Linux Runtime and compilers
RKNN2 V2.5.0 quickstart 4: MobileNet conversion and deployment
RKNN2 V2.5.0 quickstart 5: YOLOv5 detection and accuracy evaluation
RKNN2 V2.5.0 quickstart 6: Docker, startup issues and references
2. Hardware Connection and Checks
This chapter only covers the hardware connection and device visibility checks required for the first run.
2.1 Hardware Checklist
The following hardware is required to run the example programs in this document:
| Hardware | Quantity | Description |
|---|---|---|
| Computer | 1 | Ubuntu 18.04/20.04/22.04 |
| Development board | 1 | RK3562/RK3566/RK3568/RK3576/RK3588/RV1126B |
| Data cable | 1 | Type depends on the development board, see Section 2.2 |
| Power adapter | 1 | Specification depends on the development board, see Section 2.2 |
Note: Due to different production batches, the type and location of the data cable interface of the development board may change. Usually, the interface with the word OTG printed on it is the data cable interface.
2.2 Introduction to the Development Board and Connection Tools
1. Development board
RK3562 development board:
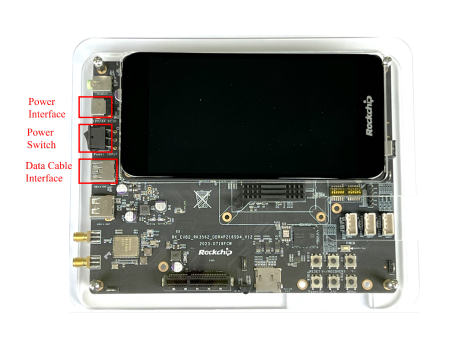
English source figure · PDF 8
Figure 2-1 RK3562 development board
RK3566 development board:
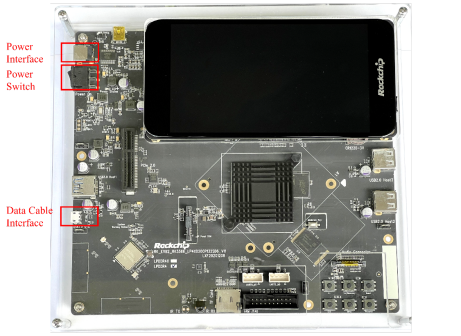
English source figure · PDF 9
Figure 2-2 RK3566 development board
RK3568 development board:
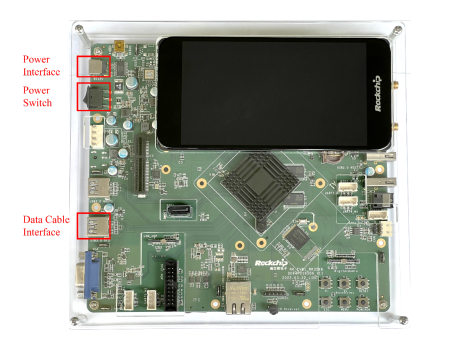
English source figure · PDF 9
Figure 2-3 RK3568 development board
RK3588 development board:
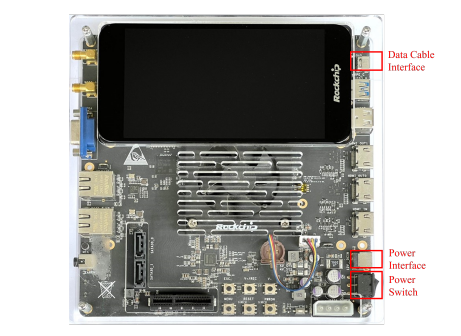
English source figure · PDF 9
Figure 2-4 RK3588 development board
RK3576 development board:
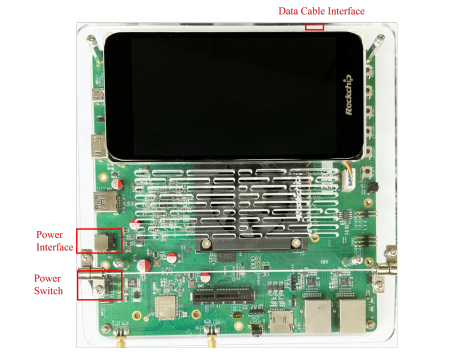
English source figure · PDF 10
Figure 2-5 RK3576 development board
RV1126B development board:
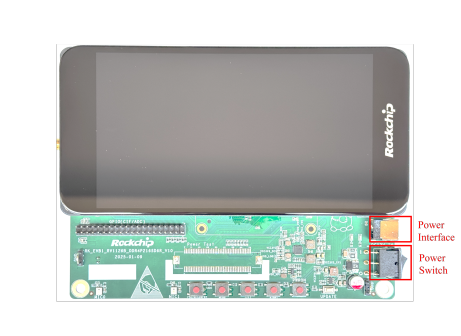
English source figure · PDF 10
Figure 2-6 RV1126B development board
RV1126B development board (side view):
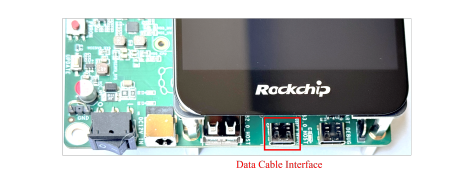
English source figure · PDF 10
Figure 2-7 RV1126B development board (side view)
2. Data cable
USB-A data cable (for RK3562/RK3568 development boards):
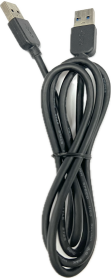
English source figure · PDF 11
Figure 2-8 USB-A data cable (for RK3562/RK3568 development boards)
Micro USB data cable (for RK3566 development board):
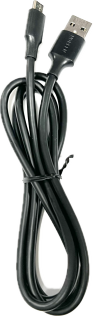
English source figure · PDF 11
Figure 2-9 Micro USB data cable (for RK3566 development board)
USB-C data cable (for RK3576/RK3588 development boards):
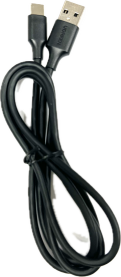
English source figure · PDF 11
Figure 2-10 USB-C data cable (for RK3576/RK3588 development boards)
3. Power adapter
Power adapter with 12V-2A output (for RK3562/RK3566/RK3568 development boards):
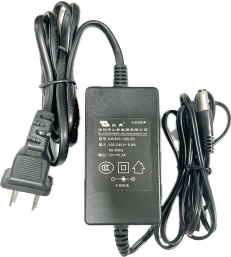
English source figure · PDF 12
Figure 2-11 Power adapter with 12V-2A output (for RK3562/RK3566/RK3568 development boards)
Power adapter with 12V-3A output (for RK3576/RK3588 development boards):
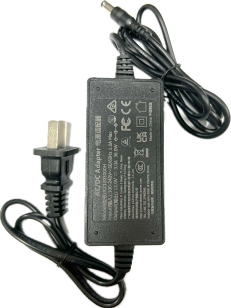
English source figure · PDF 12
Figure 2-12 Power adapter with 12V-3A output (for RK3576/RK3588 development boards)
2.3 Connect the Development Board
Taking RK3568 as an example to illustrate how to connect the development board to the computer:
-
Prepare a computer with Ubuntu 18.04 / Ubuntu 20.04 / Ubuntu 22.04 operating system.
-
Find the location of the power interface in the picture and connect the development board power adapter.
-
Use the data cable to connect the development board and computer. (Note that due to different production batches, the type and location of the data cable interface of the development board may change. Usually, the interface with the word OTG printed on it is the data cable interface.)
-
Turn on the power switch and wait for the development board system to start up.
-
Check whether the development board is connected to the computer
In the terminal window (command line interface) of your computer, execute the following command:
# If adb has not been installed, please install it first using 'sudo apt install adb'
adb devices
The output information of a successful connection is as follows, where 13af7b28115662cd is the device ID of RK3568 (example value; the actual value depends on your machine). If there is no device displayed, please refer to 6.1 adb devices Shows No Device for troubleshooting.
List of devices attached
13af7b28115662cd device
2.4 Check Device Connection Status
Before continuing with installation and model conversion, make sure that at least all of the following checks pass:
| Check item | Command | Pass criteria |
|---|---|---|
| ADB tool available | adb version | The adb version information is displayed normally |
| Board device visible |
adb devices | The development board appears in the device list with the device status |
After all the above checks pass, continue with the host-side and board-side environment preparation.