
Platform reference for the RKNN2 V2.5.0 RV1103/RV1103B/RV1106/RV1106B quickstart, using the matching board SDK, RKNPU2 driver and librknnmrt.so. No corresponding ArmSoM board has been confirmed. The source Linux 5.10.160 log and inference outputs are examples, not ArmSoM hardware tests. Check power, connections and drivers against the actual board BSP.
Source: local Chinese and English V2.5.0 PDFs. Chinese uses the Chinese text and figures; English, Russian and German use the English source. All technical chapters, commands and tables are retained; PDF line wraps and directory-tree indentation are restored. An older driver in a sample log is not the recommended version; see the source recommendation below. Check unpinned downloads and pip installations against the actual SDK.
RV1103/RV1106 RKNN quickstart 1: deployment flow, platforms and repositories
RV1103/RV1106 RKNN quickstart 2: hardware connections and device checks
RV1103/RV1106 RKNN quickstart 3: host environment and Mini Runtime
RV1103/RV1106 RKNN quickstart 4: YOLOv5 conversion, Python and C deployment
RV1103/RV1106 RKNN quickstart 5: Docker, first-run issues and references
2. Hardware Connection and Check
This chapter covers only the hardware connection and device visibility checks required for the first run. After confirming that the development board can be recognized by the computer through ADB, continue with environment installation and model conversion.
2.1 Hardware Checklist
The following hardware is required to run the examples in this guide:
| Hardware | Quantity |
|---|---|
| Ubuntu computer | 1 |
| RV1103/RV1103B/RV1106/RV1106B development board | 1 |
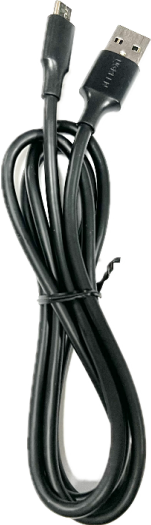
| Micro USB data cable | 1 |
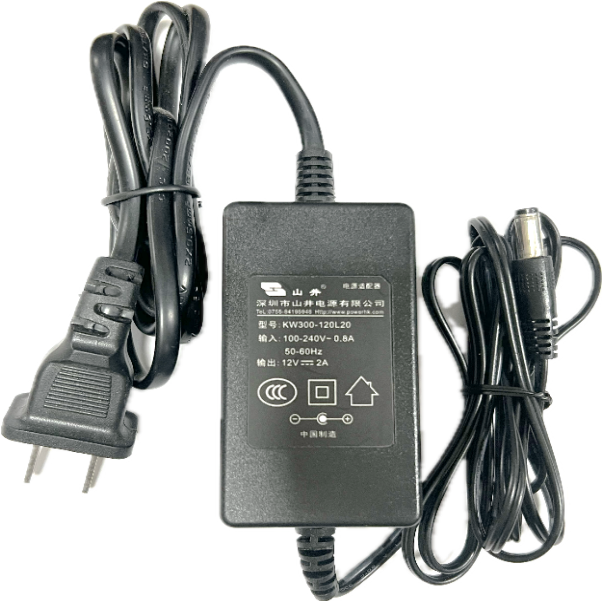
| 12V-2A power adapter | 1 |
2.2 Introduction to Development Board and Connection Tools
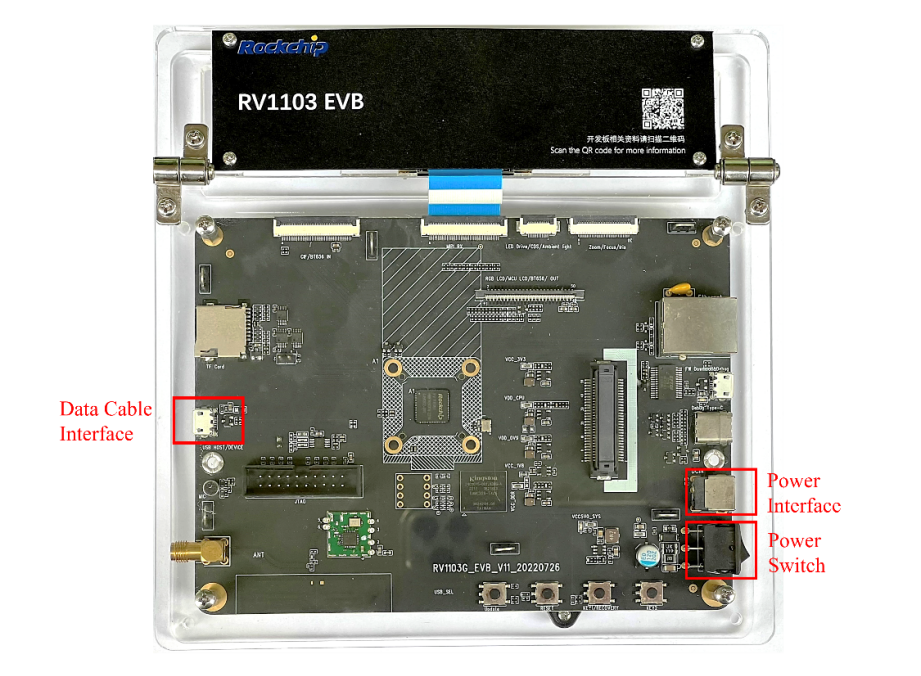
RV1103 Development Board
English source figure · PDF 10
Figure 2-1 RV1103 development board
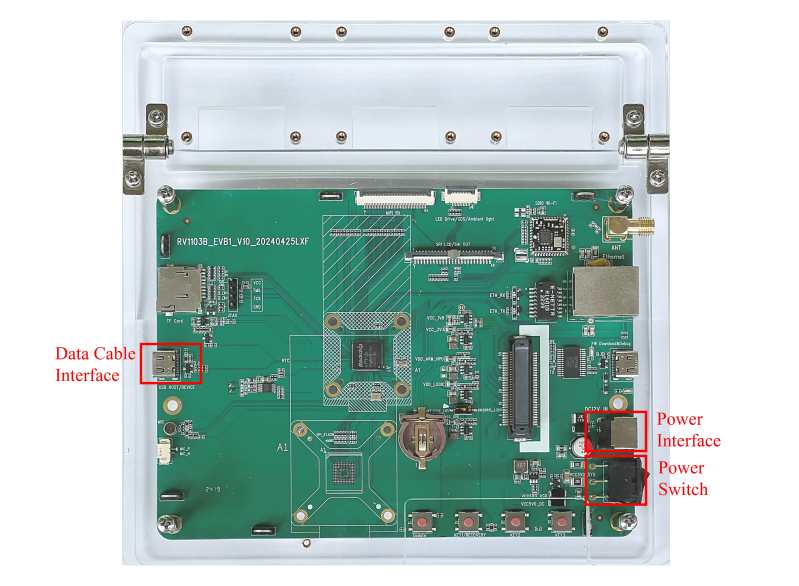
RV1103B Development Board
English source figure · PDF 10
Figure 2-2 RV1103B development board
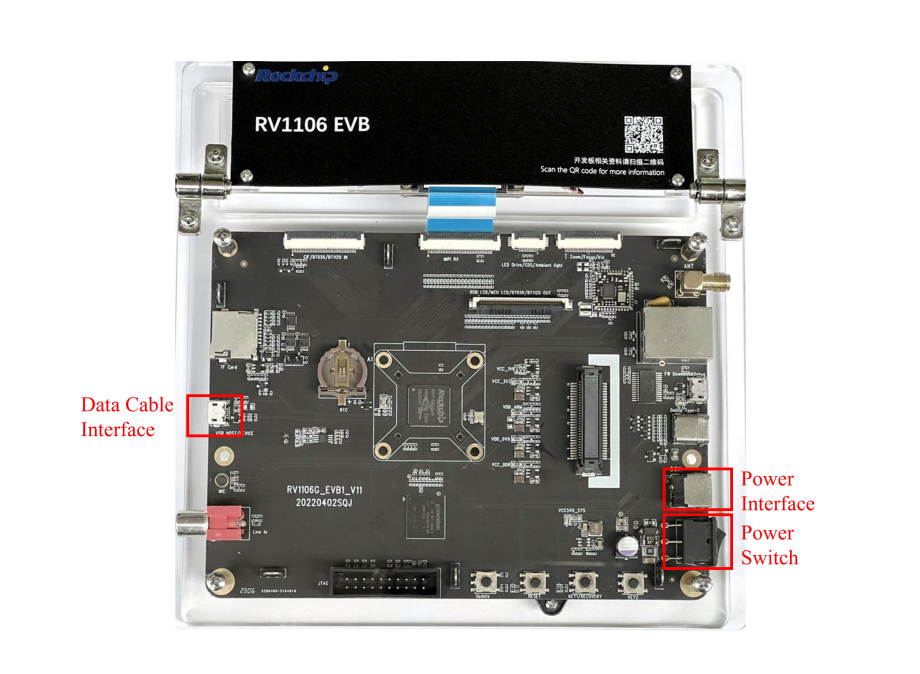
RV1106 Development Board
English source figure · PDF 11
Figure 2-3 RV1106 development board
Micro USB Data Cable
English source figure · PDF 11
Figure 2-4 Micro USB data cable
Power Adapter
English source figure · PDF 12
Figure 2-5 Power adapter with 12V-2A output
2.3 Connect the Development Board
The following steps use RV1106 as an example to illustrate how to connect the development board to the computer:
-
Prepare a computer running Ubuntu 18.04 / Ubuntu 20.04 / Ubuntu 22.04.
-
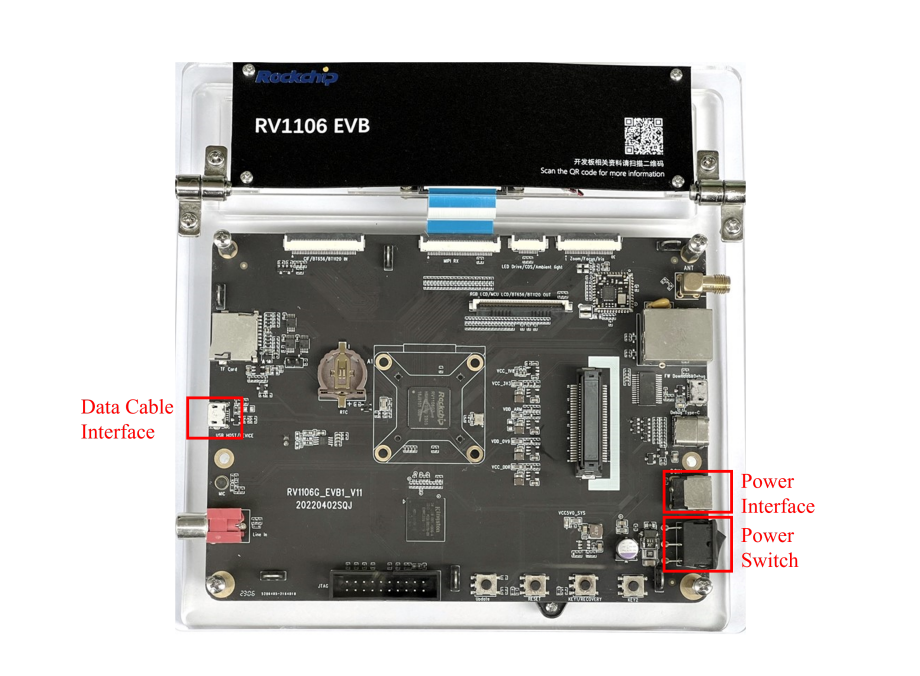
Locate the power connector on the development board and connect the power adapter.
-
Use a data cable to connect the development board to the computer. Due to differences between production batches, the type and location of the data cable connector may vary. Generally, the connector marked OTG on the board is the data cable connector.
-
Turn on the power switch and wait for the development board system to start.
English source figure · PDF 13
Figure 2-6 RV1106 development board
2.4 Check the Device Connection Status
Run the following commands in the computer terminal:
# Install adb if it is not already installed
sudo apt install adb

# Query ADB devices
adb devices
When the connection is successful, the output is similar to the following. 421ca310c9b9242b is the RV1106 device ID in this example; the actual device ID depends on your board.
List of devices attached
421ca310c9b9242b device
Before continuing with installation and model conversion, confirm at least the following checks:
| Check Item | Command | Expected Result |
|---|---|---|
| ADB is available | adb version | ADB version information is displayed correctly |
| Development board is visible | adb devices | The board appears in the list with the status device |
If no device is displayed by adb devices , refer to 6.1 Device Cannot Be Recognized.