
Design media pipelines around caps negotiation, buffers, and supported codecs instead of unverified frame-rate claims.
What this article helps you decide
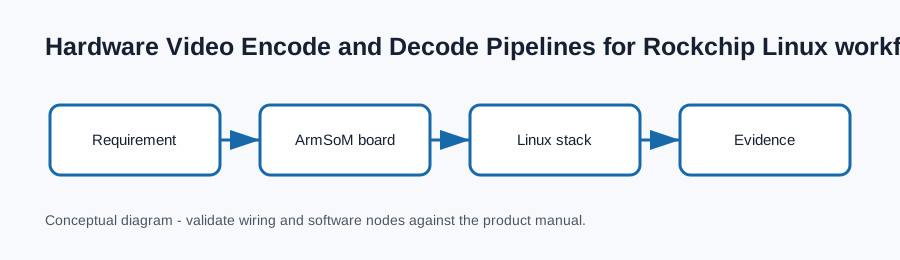
Use the distribution’s supported userspace components and interrogate the pipeline on the target before promising codec or resolution behavior. This guide is an engineering workflow, not a substitute for the schematic, release notes, or safety instructions for the exact ArmSoM product and revision.
Platform context
ArmSoM product pages list hardware codec capabilities for RK3576 and RK3588 variants. Availability in a shipped image still depends on its kernel drivers and media userspace.
The practical rule is to keep the board, BSP/image version, peripheral revision, power arrangement, and reproducible commands together in one project record. That makes a field issue diagnosable and prevents a working lab configuration from becoming an undocumented dependency.
Reproducible starting procedure
Discover installed elements, then build a minimal file-to-fakesink or camera-to-file path.
gst-inspect-1.0 | rg -i "mpp|v4l2|h264|h265"
gst-launch-1.0 filesrc location=input.mp4 ! qtdemux ! fakesink
Record the command output, kernel release, image release, board revision, and any attached peripheral identifiers. When a command writes media, changes boot configuration, or controls power, stop and consult the board-specific manual before proceeding.
Validation checklist
- Confirm the exact ArmSoM board, revision, memory/storage SKU, and power method.
- Capture
uname -a, image/build version, and the full serial boot log. - Verify the expected hardware node or connector before tuning performance.
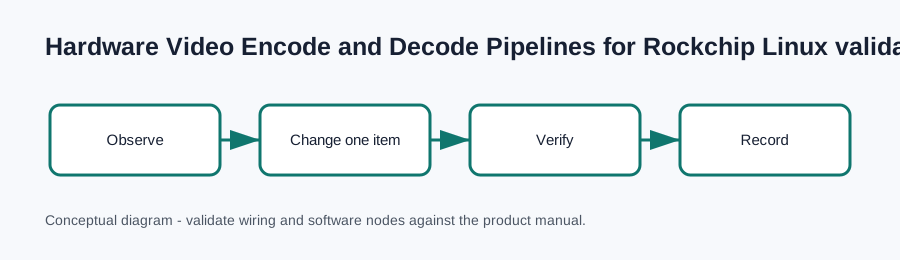
- Change one variable at a time and keep the before/after evidence.
- State workload, environment, software versions, and method with any result.
Troubleshooting
Symptom: the expected device or behavior is absent. First compare the running image and device tree to the product documentation, then check power, cable direction, connector seating, and boot logs.
Symptom: the command exists but gives an unexpected result. Element names and acceleration paths differ across images. Confirm with gst-inspect and logs; never infer hardware use from CPU utilization alone.
Symptom: a configuration appears to work once but not after reboot. Check whether the change belongs in the image, boot configuration, device tree, service definition, or a transient runtime command. Preserve the serial log and a minimal reproduction.
Publishing notes
This article intentionally contains no fabricated benchmark, compatibility claim, or laboratory measurement. Add measured results only with the test unit, software revision, workload, ambient conditions, repetitions, and raw evidence.
References
- ArmSoM Open Source Hardware Developer Center
- ArmSoM Sige5 RK3576 documentation
- ArmSoM Sige7 RK3588 documentation
- ArmSoM AIM5 RK3576 documentation
- ArmSoM AIM7 RK3588 documentation
- Linux kernel DeviceTree documentation
- Rockchip RK3588 brief datasheet
Pre-publication check
- Verify each product capability and pin/interface statement against the current board documentation.
- Replace generic commands with the tested image/release-specific command where needed.
- Confirm screenshots, diagrams, and alt text match the final board and workflow.
- Add a canonical URL and author/editor attribution in front matter.
- Have a technical owner review safety, flashing, electrical, and availability statements.